
Composing an Email #
Emails can be composed in a few different places, which include the following:

Email Campaigns #
You can use email campaigns to send marketing messages to subscribers who have opted to receive them.
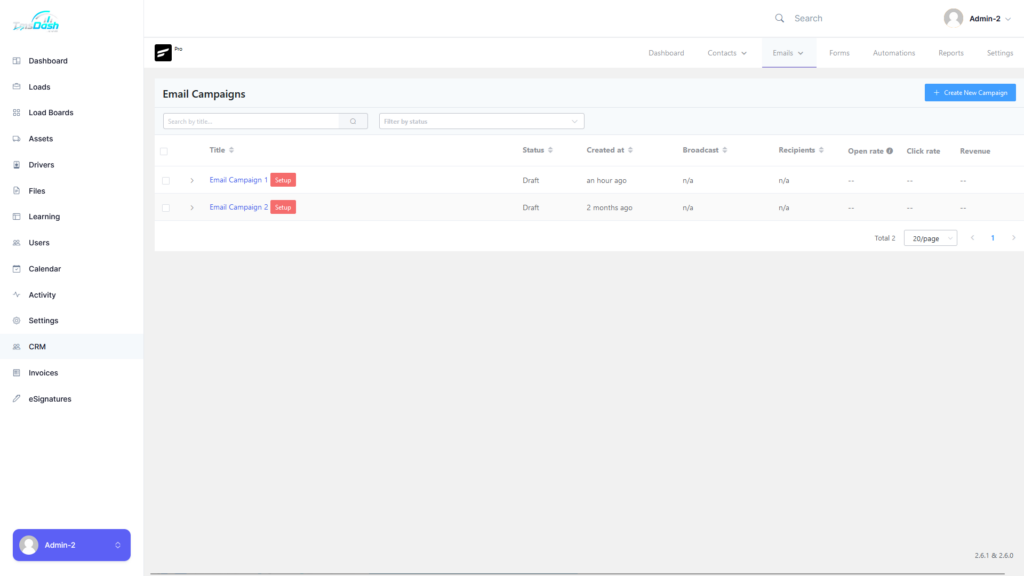
All Campaigns #
This page will display all email campaigns created as well as give you the option to create a new email campaign
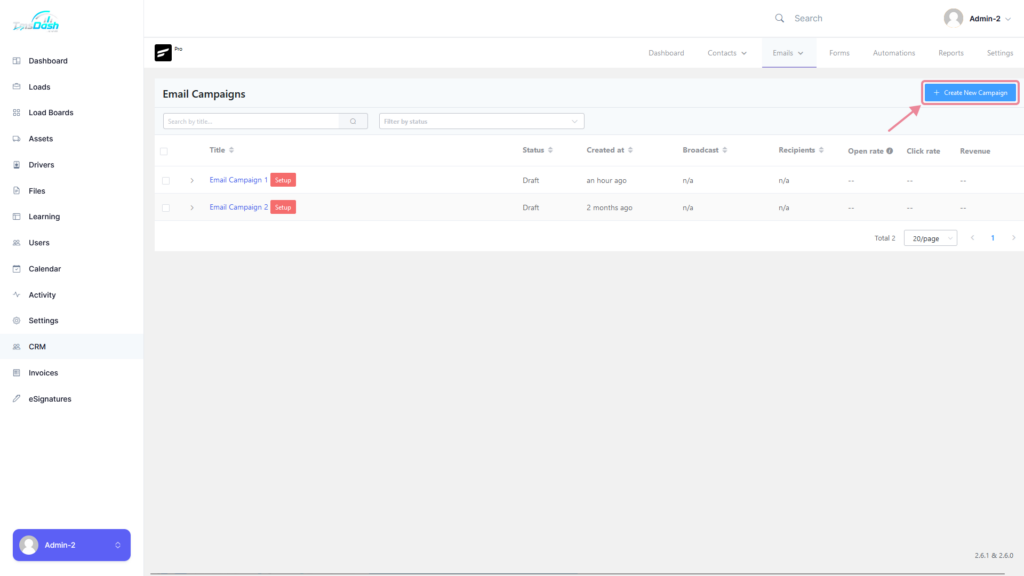
Starting a New Campaign #
Before launching a CRM email campaign, make sure your contact list contains subscribers.
To start a new campaign, simply click on the “Create New Campaign” button, a popup will appear where you can provide a relevant campaign title for the email campaign.
After creating an email campaign you will be redirected to the Email Composing Campaign page which has 4 steps to complete.
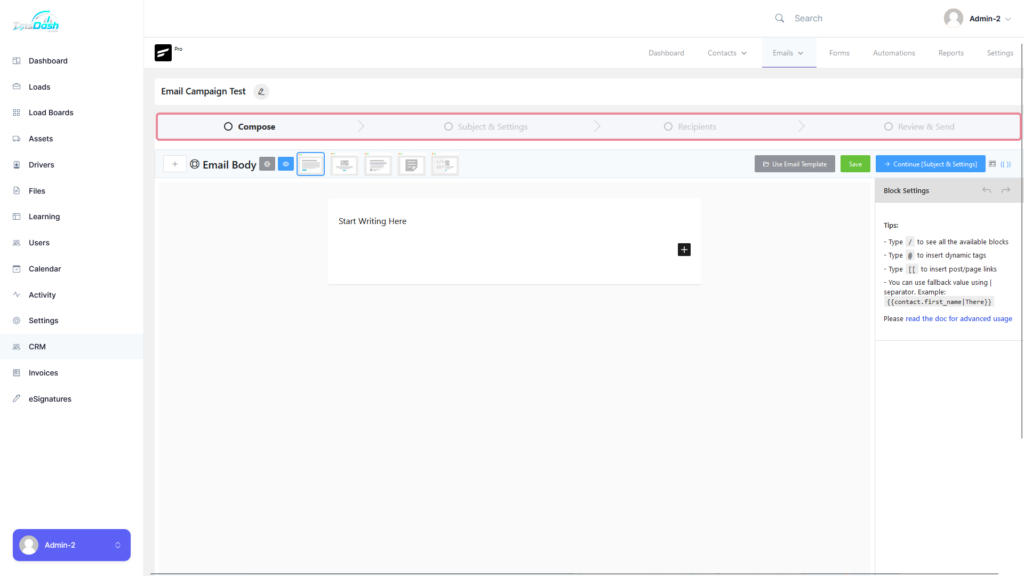
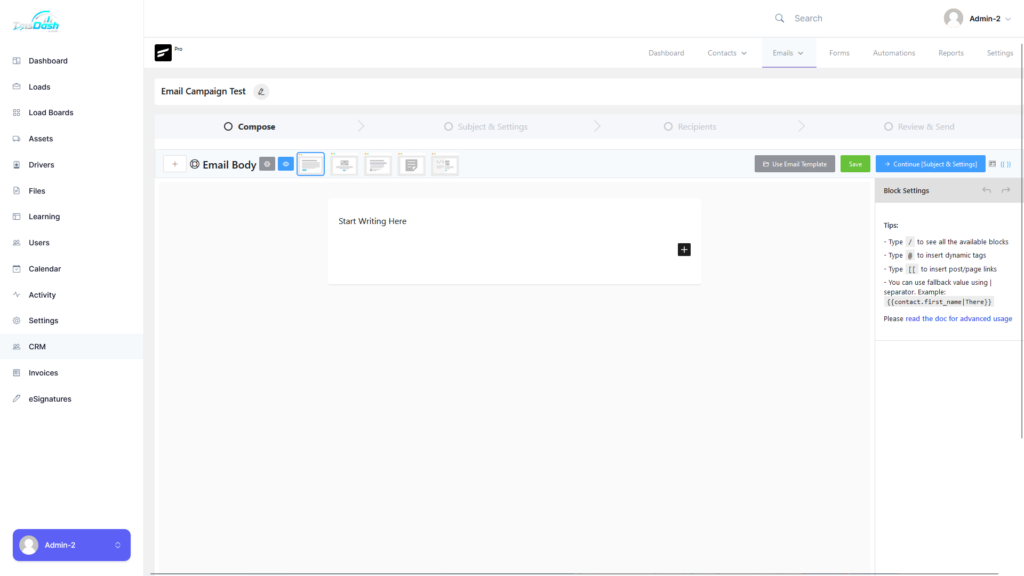
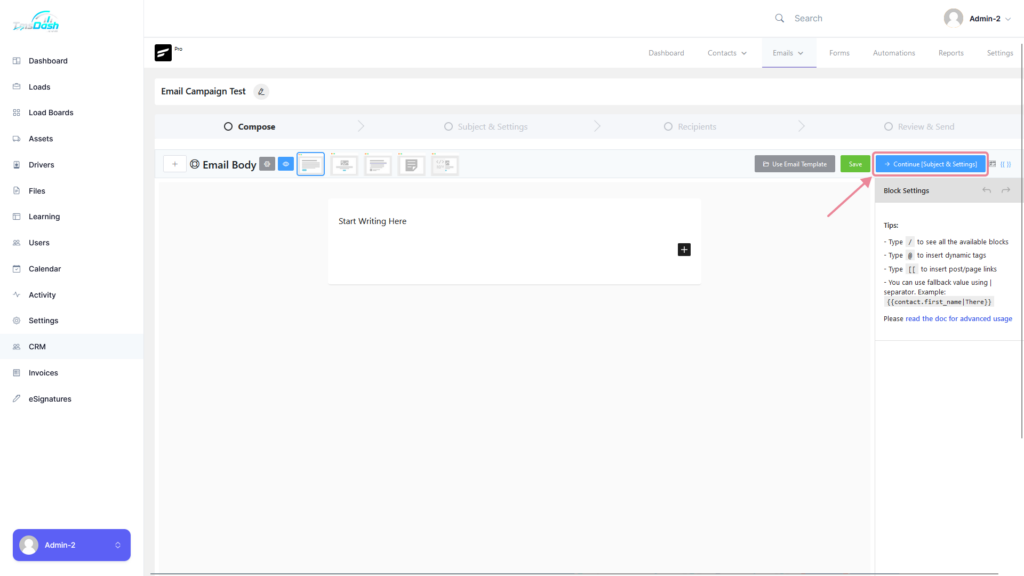
Compose #
Here you can start composing your email and adjust/edit the layout.
For more info on the content editor, go to the Email Content Editor docs.
When you are done with composing your email, you can press the “Continue [Subject & Settings]” button and go to the next step.
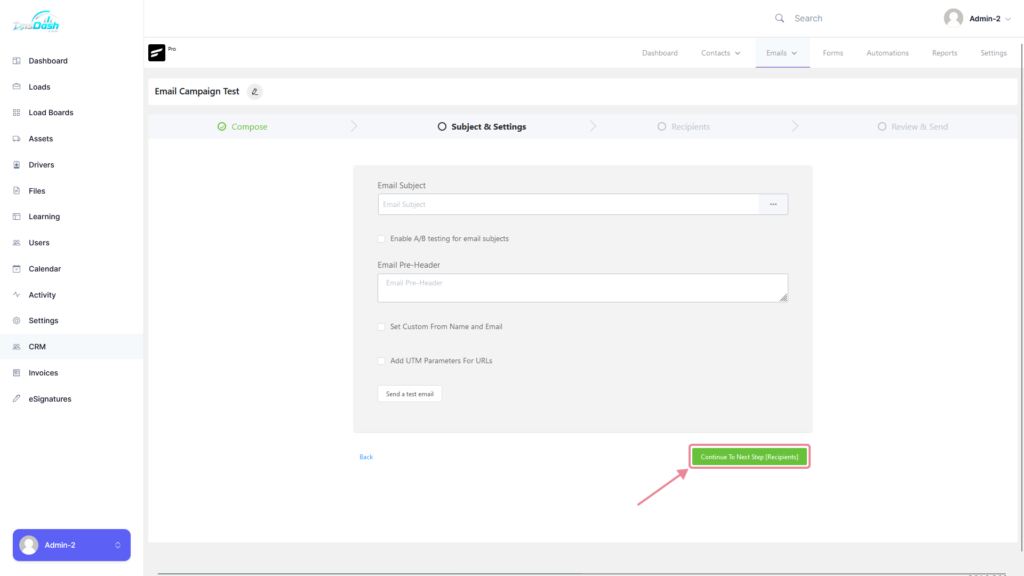
Subject & Settings #
All the primarily technical and crucial components of Email Marketing are defined in this step.
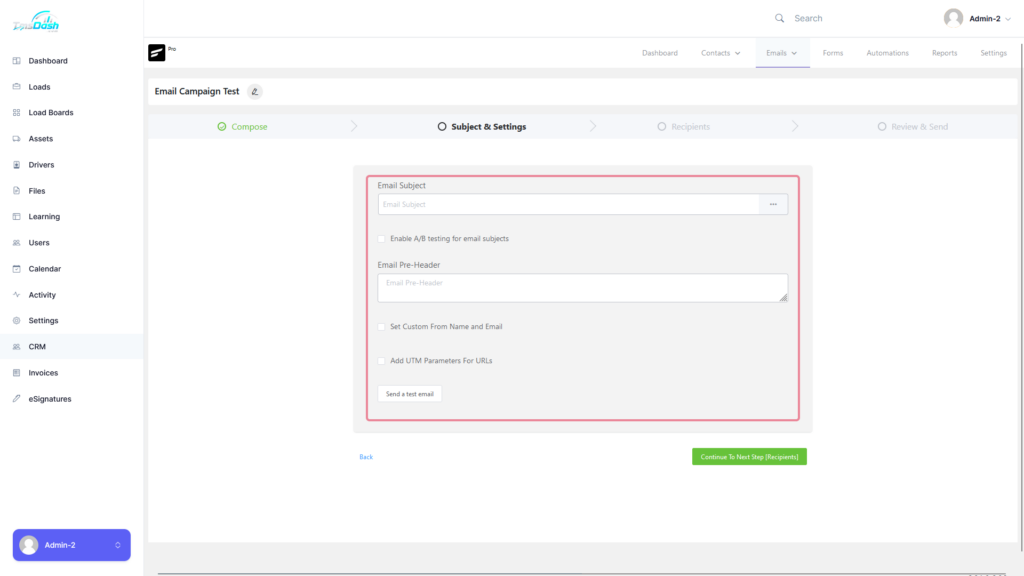
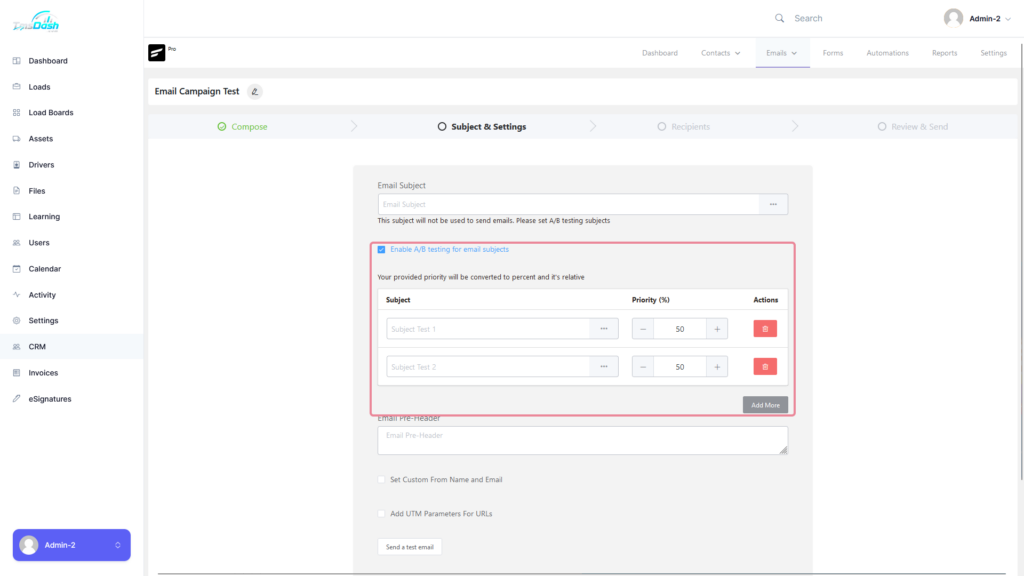
Email Subject & A/B Testing #
Enter the subject line for your email in the Subject field.
Make sure it’s optimized for your audience because this one line of text frequently determines whether an email is opened or sent directly to the trash.
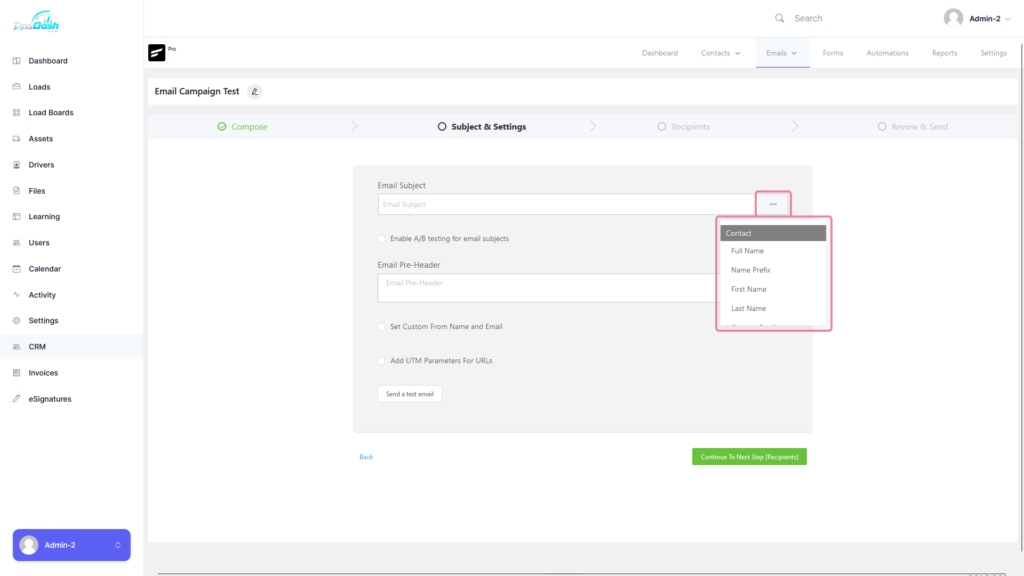
Additionally, you can choose dynamic values for the Email Subject by clicking on the three dots.
For A/B testing, more than one subject may be added by clicking the “Add More” button. By looking at the A/B test results, you can evaluate which subject is more effective for your emails
Email Pre-Header #
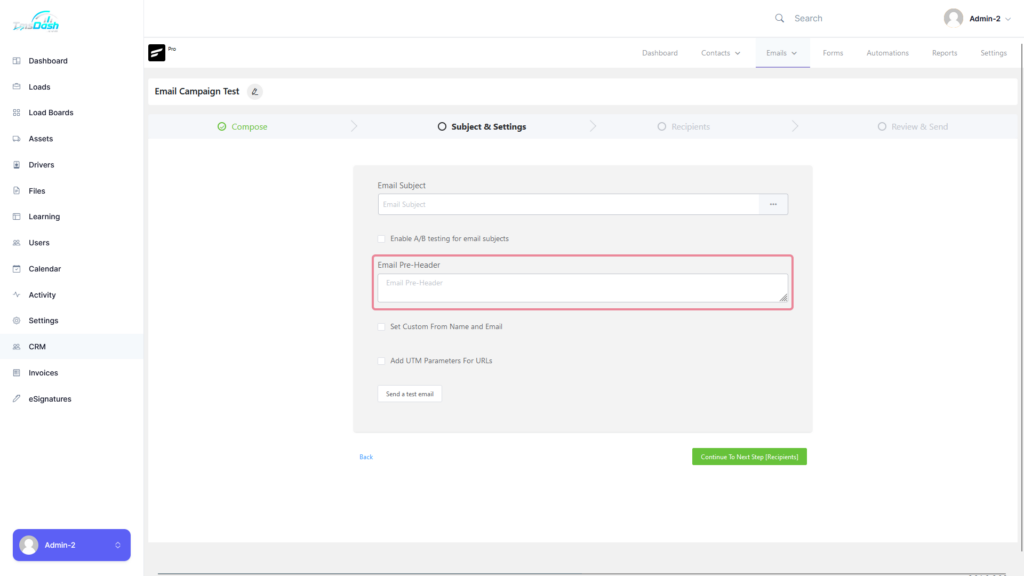
When viewing an email from the inbox, this is the concise summary text that comes after the subject line.
Custom Form Name & Email #
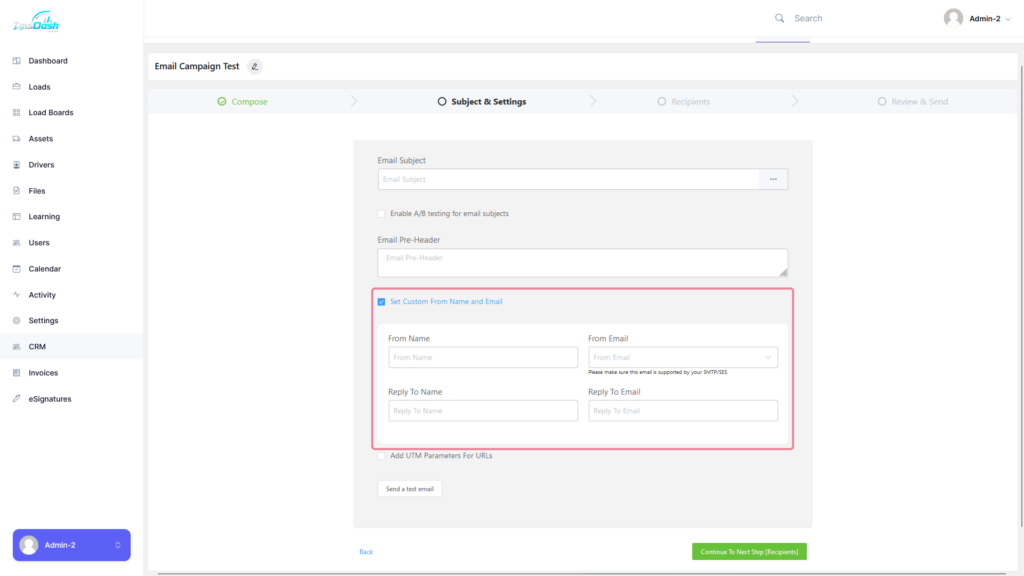
Click on the checkbox to set the custom form name and email.
If its not set here, the emails will be sent using your global email setting.
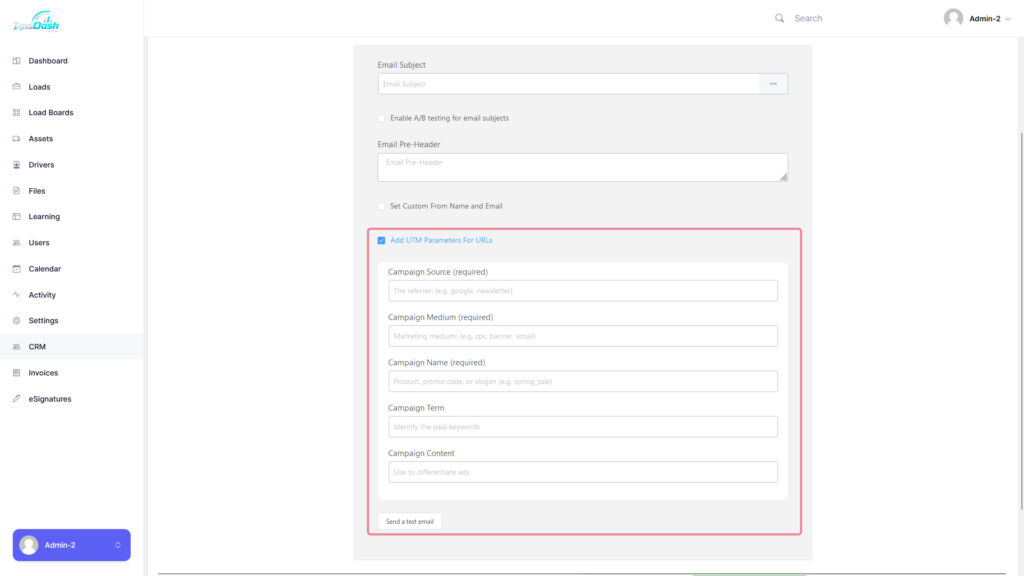
UTM Parameters for URLs #
Here you can provide the necessary UTM parameters for URLs.
Sending a Test Email From Campaign #
To send a test email, click on the “Send a test email” button at the bottom of the subject & settings step.
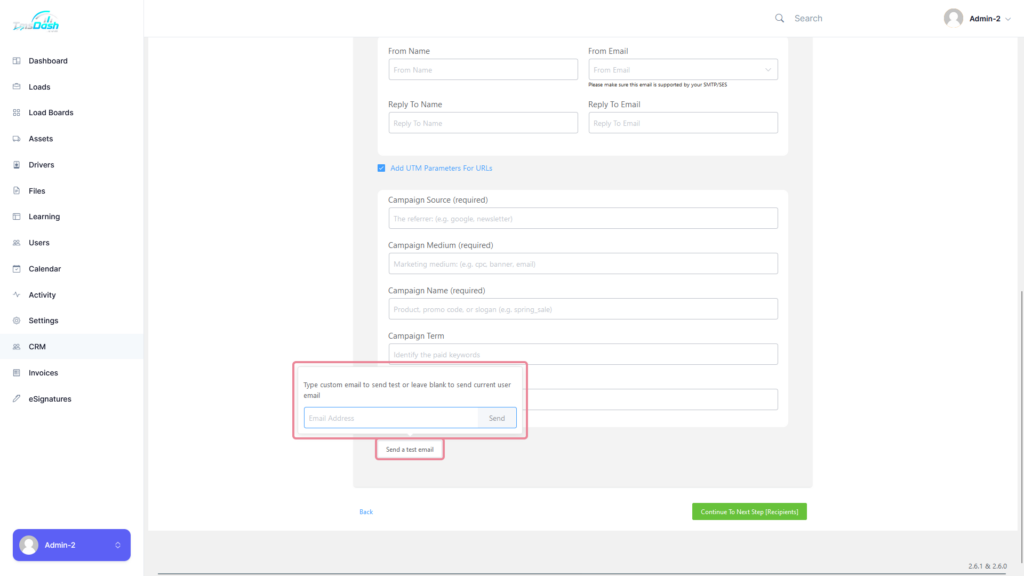
If the email is sent successfully you will receive a message at the top right of screen stating that the email was sent successfully.
When you are ready to go to the next step, click on the “Continue to Next [Recipients]” button
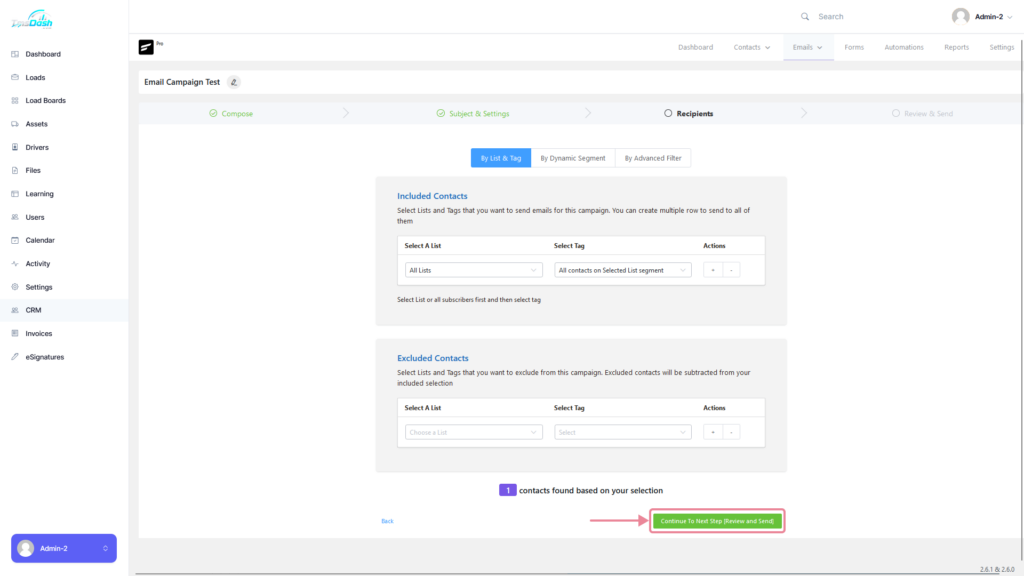
Recipients #
Here you can choose who will get the email campaign or newsletter email.
There are 3 main ways to add recipients:
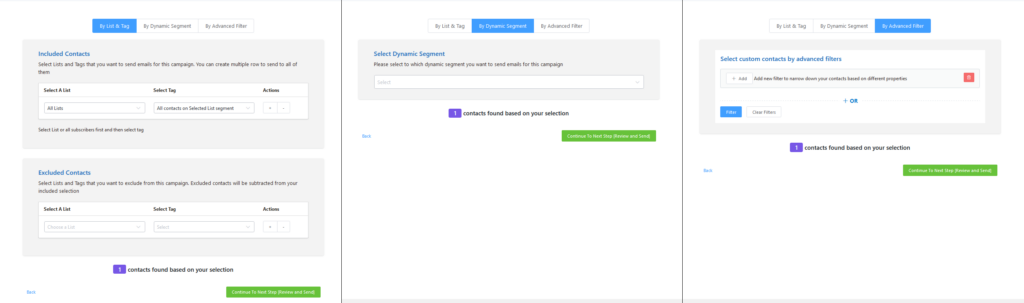
- By List & Tag – From the menu, you can choose one list and one tag. To add more, click on the plus button on the right side.
- By Dynamic Segment – You can run the campaign using any dynamic segments including the ones you’ve created in CRM,.(Exapmles: LearnDash users, LiferLMS users, WooCommerce users, etc)
- By Advanced Filter – This allows you to select custom contacts and then filter the contacts accordingly.
As soon as you are ready to go to the next step, click on the “Continue to Next Step [Review and Send]” button.
Review and Send #
In this step you can review your email campaign to see if everything was setup correctly, you are also still allowed to go back to certain steps to edit/correct them.
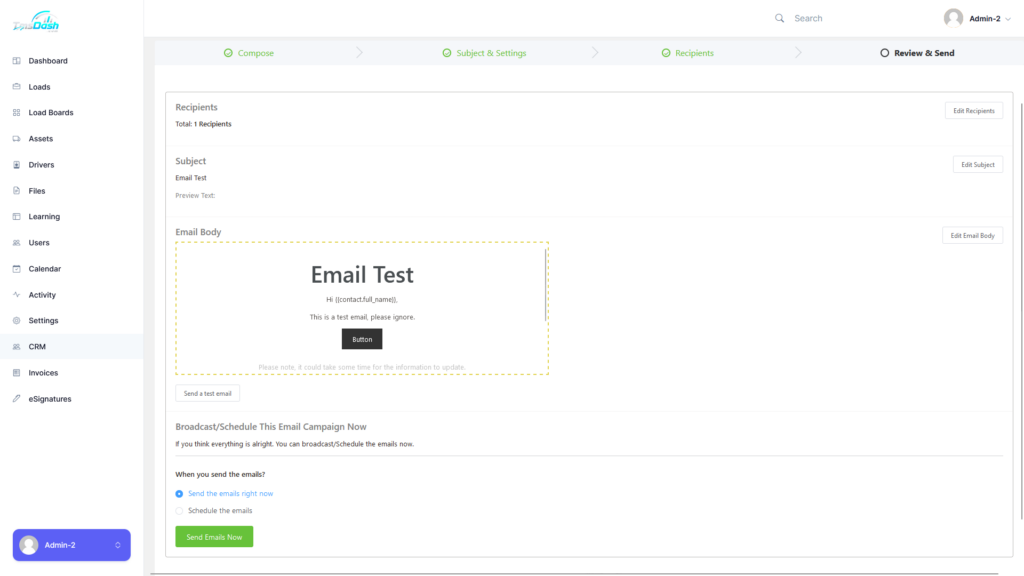
Once you are sure that everything is set up correctly you can immediately start the campaign or you can schedule date to start the campaign by using these checkbox options.
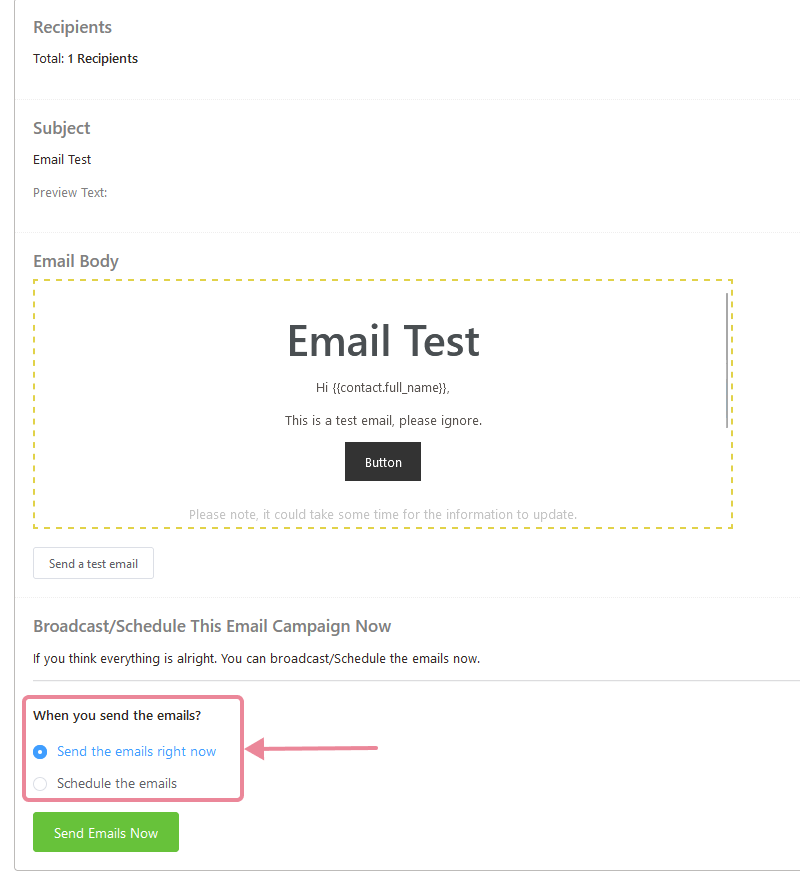
Immediately sending the emails will redirect you to a page where you can statistics such as the amount of pending emails, processing emails, sent emails and total emails.
Pausing the Campaign #
If the campaign delivery is running and you wish to pause it, you can click on the “Gear” icon in the top right corner and click on the “Pause” button.
Email Sequences #
Email Sequences are a series of emails that are automatically sent to specific contacts (subscribers) once they opt in, make a purchase, or based on other activities.
Creating a New Email Sequence #
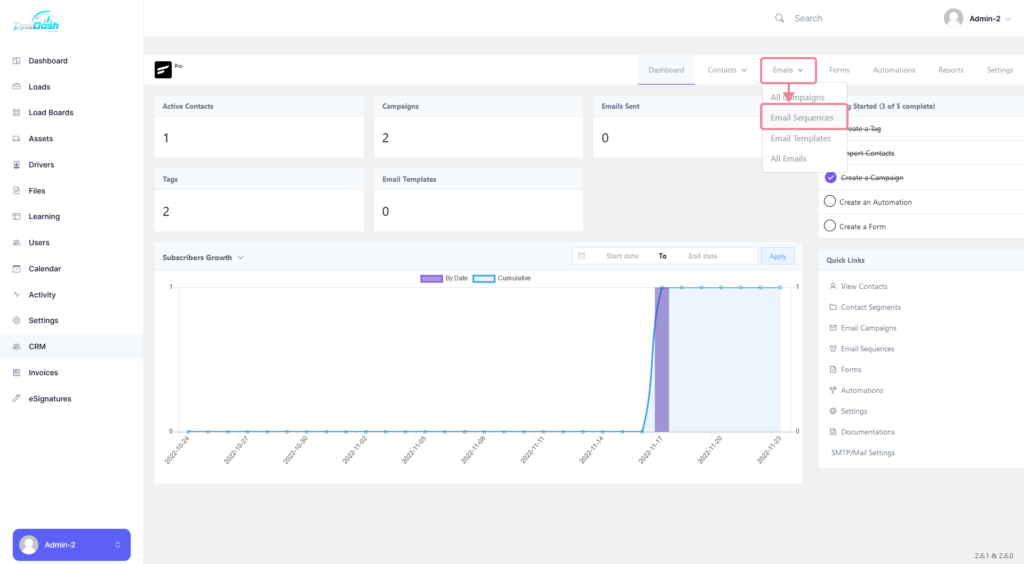
To create a new email sequence, hover over the “Emails” tab and select “Email Sequences” from the dropdown.
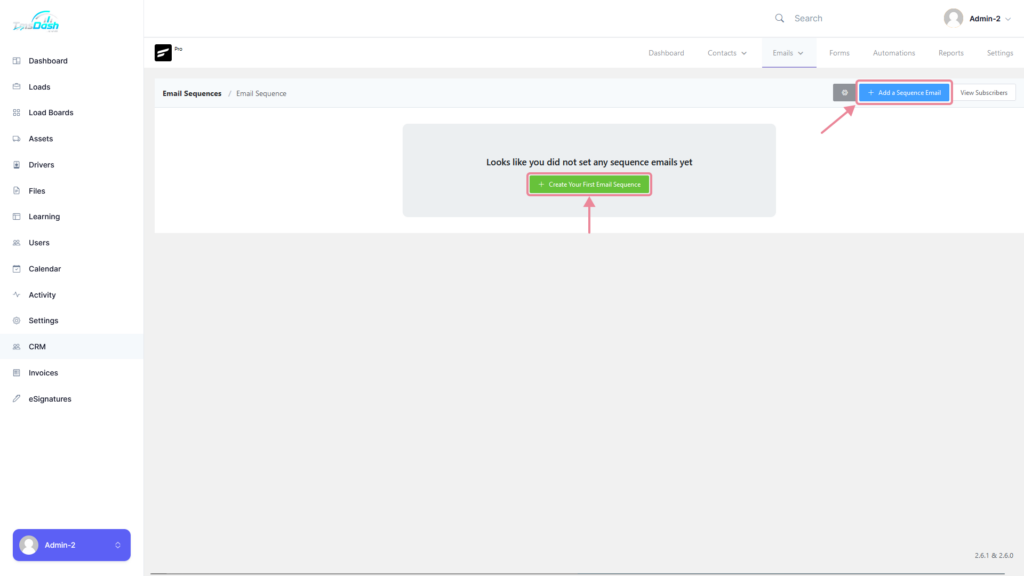
You can then click on the “Add a Sequence Email” button or the “Create Your First Email Sequence” button if you have not created any before.
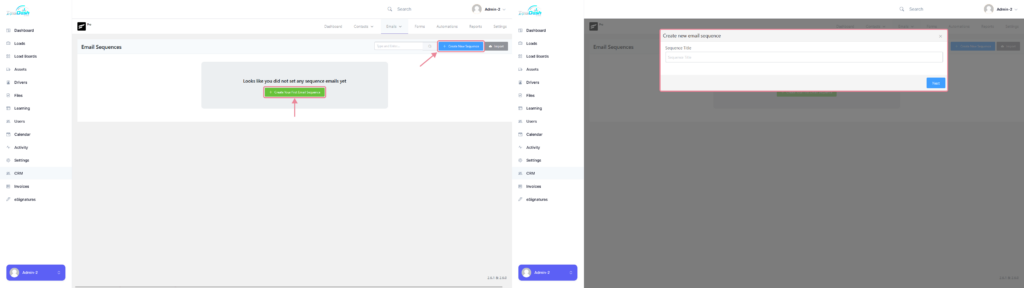
You will then be redirected to the sequence dashboard which will look similar to the previous page.
You can then just click the same buttons on the sequence dashboard to start a new sequence email.
You will now be redirected to a page where you can compose your email for the sequence.
Composing an Email for a Sequence #

Now you can start composing your email.
On this page there are various details that can be filled in such as:
- Email Subject: The subject line for your email (Make sure it’s optimized for your audience because this one line of text frequently determines whether an email is opened or sent directly to the trash.)
- Email Pre-Header: When viewing an email from the inbox, this is the concise summary text that comes after the subject line.
- Delay: Sequential email sequences require delay. If you choose a 1-day delay for a series intended for new subscribers, the user will receive the email one day after subscribing. Try to avoid sending several emails in one day. The industry standard for sequential emails is a one-week delay between every email, excluding the welcome email.
- Sending Time Range: To indicate when the email should be sent, pick a time frame.
To see more information on the email content editor, go to the Email Content Editor docs.
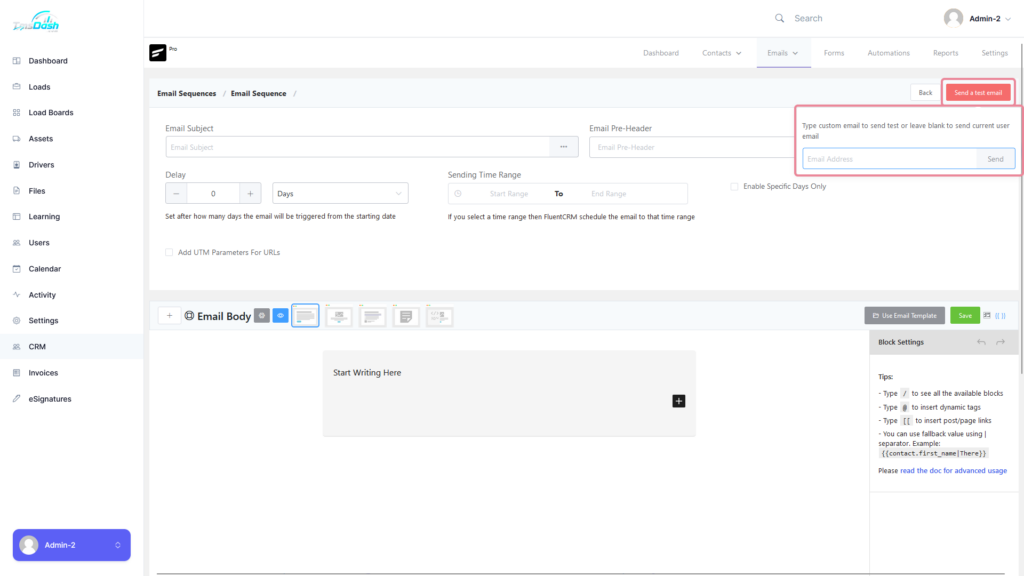
Sending a Test Email from Email Sequence #
To send a test email, you can click on the “Send a test email” button, which will then provide input for a custom email address to send the email to.
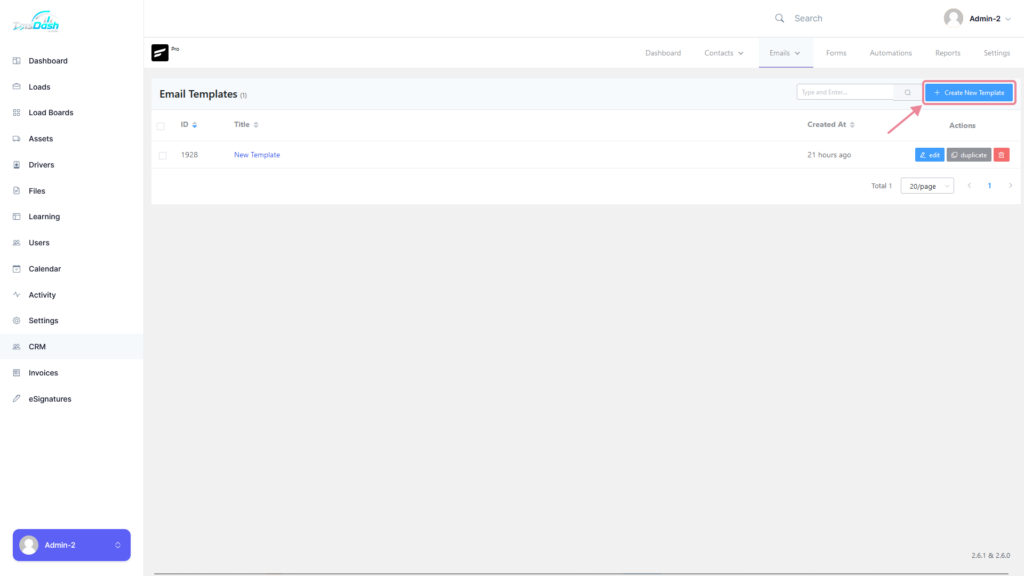
Email Templates #
You can create a email template that you can use throughout the CRM whenever you need to.
To create a new email template, hover over the “Emails” tab and select “Email Templates” from the dropdown.
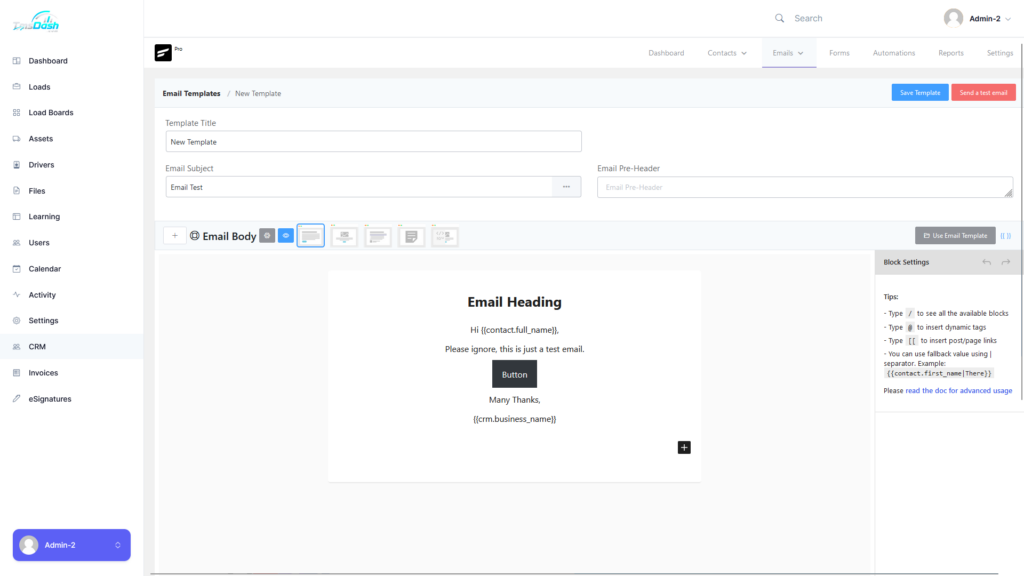
For the email template you can edit various details such as:
- The Title: The title of the template.
- The Email Subject: The subject line for your email (Make sure it’s optimized for your audience because this one line of text frequently determines whether an email is opened or sent directly to the trash.)
- The Email Pre-Header: When viewing an email from the inbox, this is the concise summary text that comes after the subject line.
- The Email Body: For more information on editing the email body, you can have a look at the Email Content Editor docs.
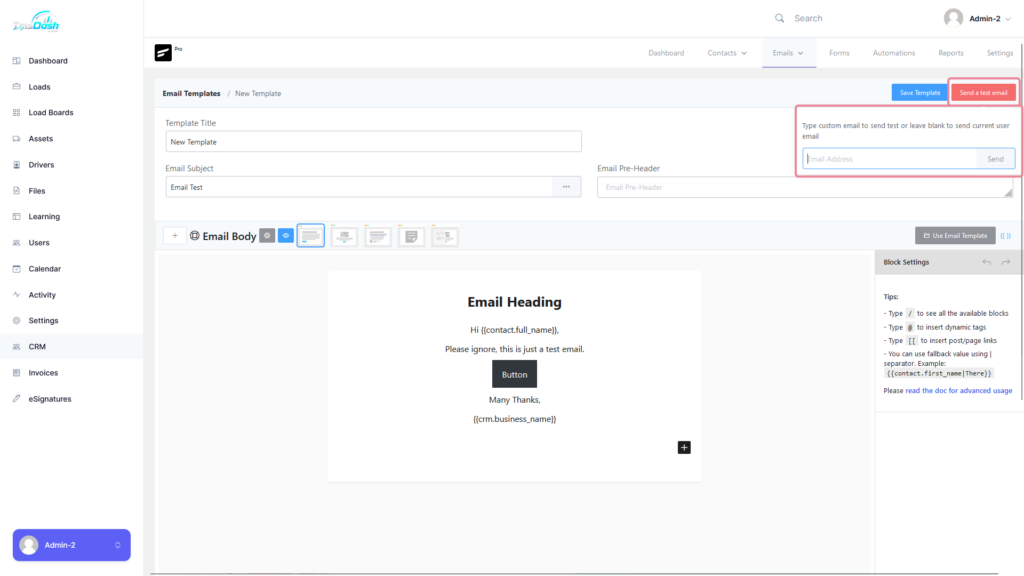
Sending a Test Email from Template #
You can send a test email from the “Email Templates” by clicking on the “Send a test email” button at the top right of the template.
You will be prompted to enter an email to send the test email to.


Responses