
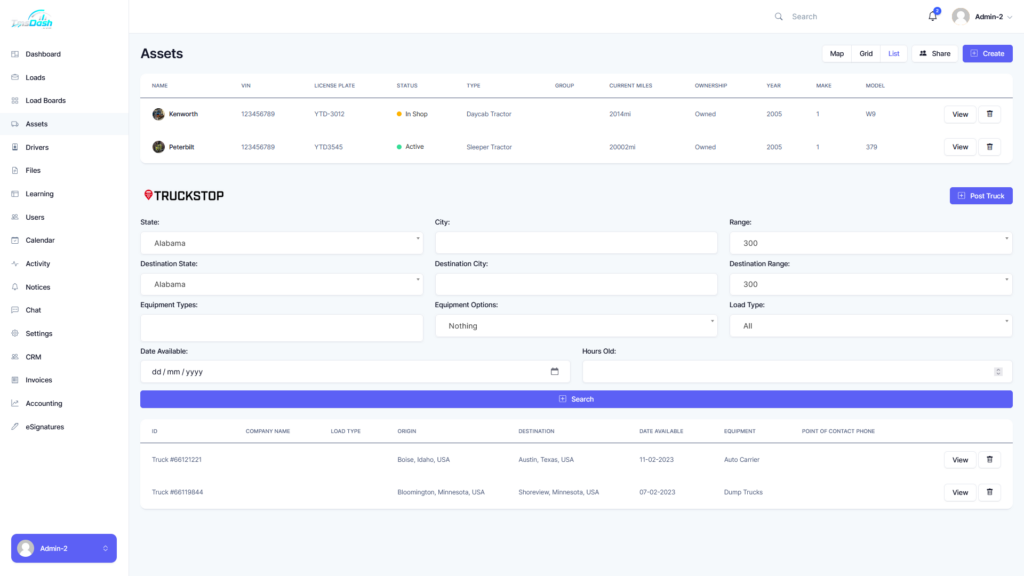
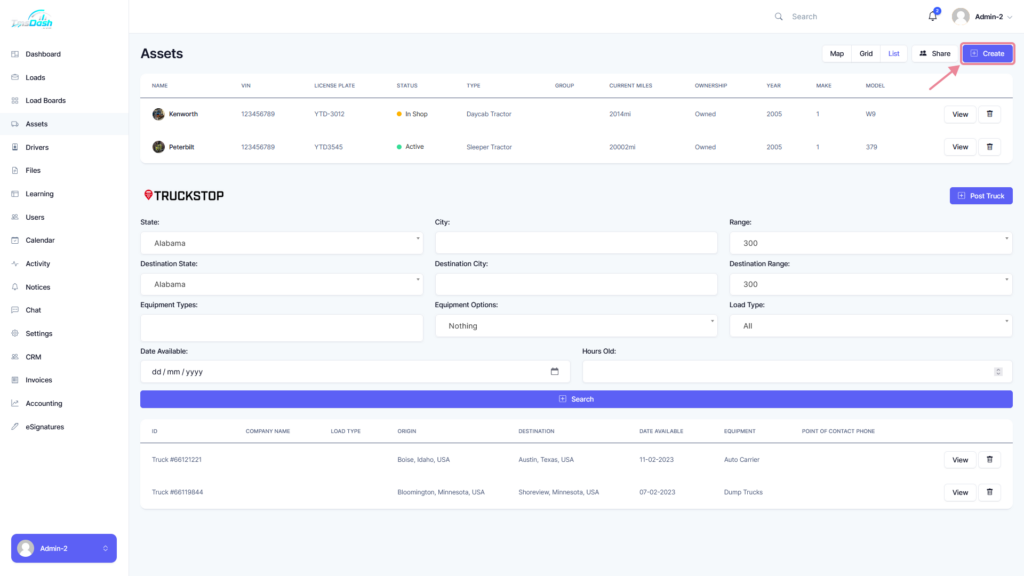
The Assets page will display all the assets that are created and allow you to create, view and manage all assets.
Views #
You can switch between the following different views:
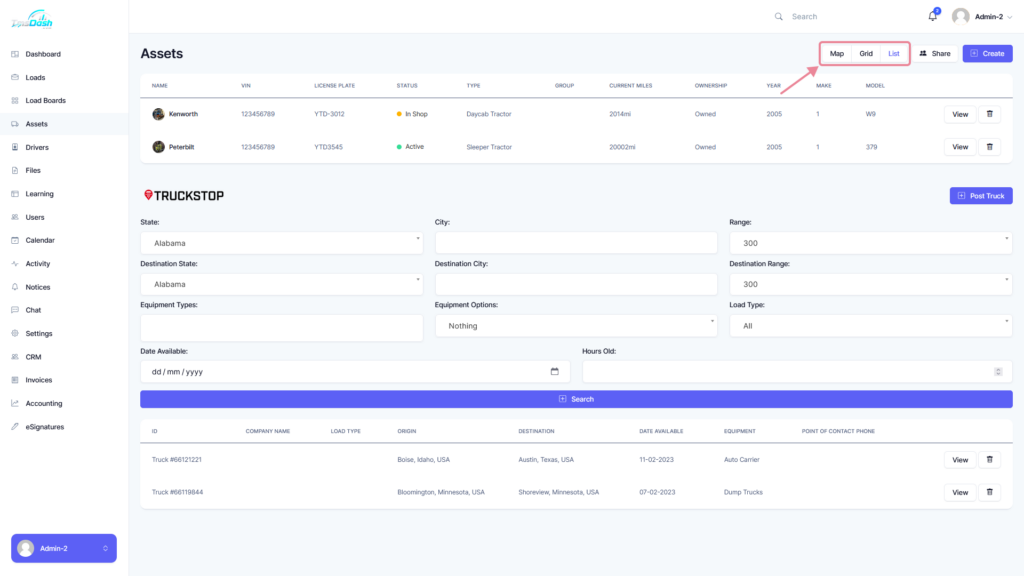
List View #
The list view will display all assets as a list.

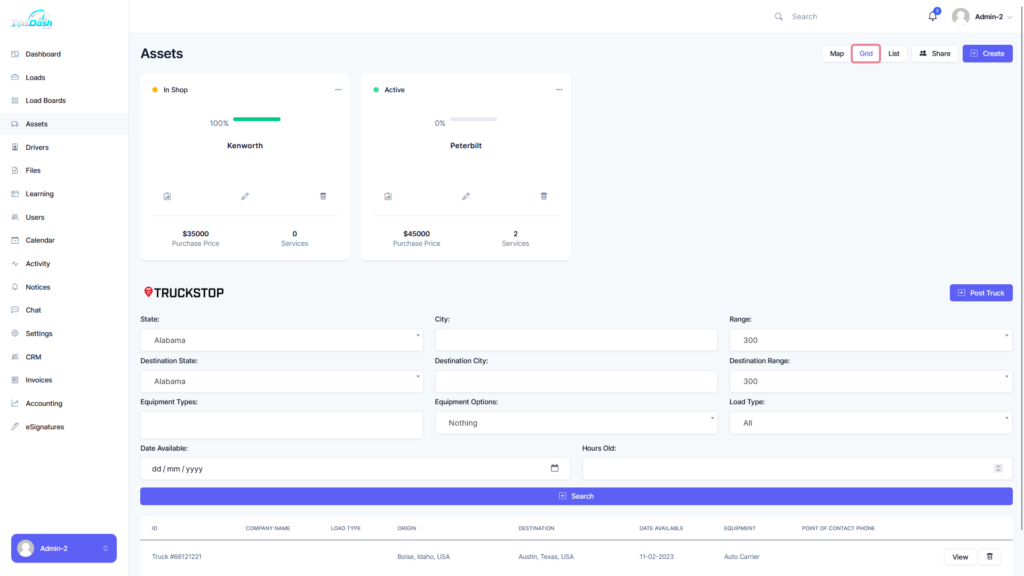
Grid View #
The grid view will display all assets as a grid.
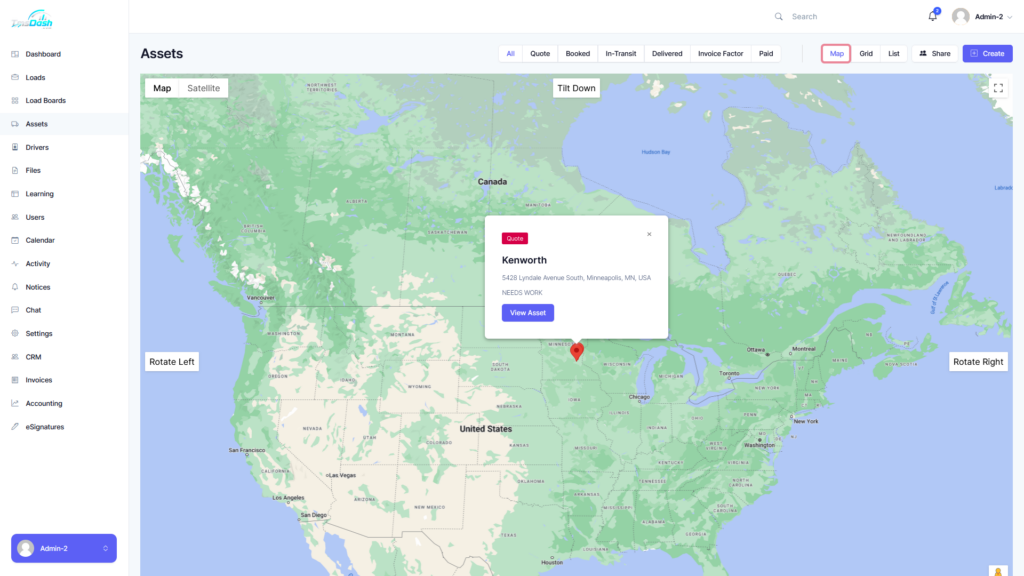
Map View #
All assets will be displayed inside a map with their locations, these assets will be visualized by a red pin icon.
Clicking on one of the assets will show the basic details of the load and will give you the option to fully view the load.
Creating a New Asset #
You can create a new asset by clicking on the “Create” button on the “Assets” page.
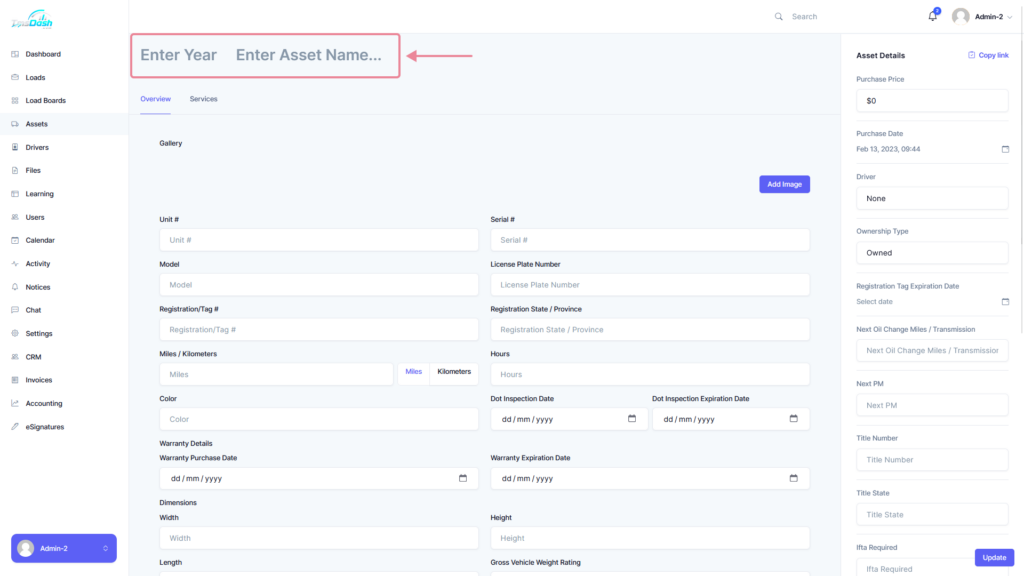
Once a new asset is created, you will be able to fill in the details for your asset.
Year & Name #
You can set the year and name for your asset.
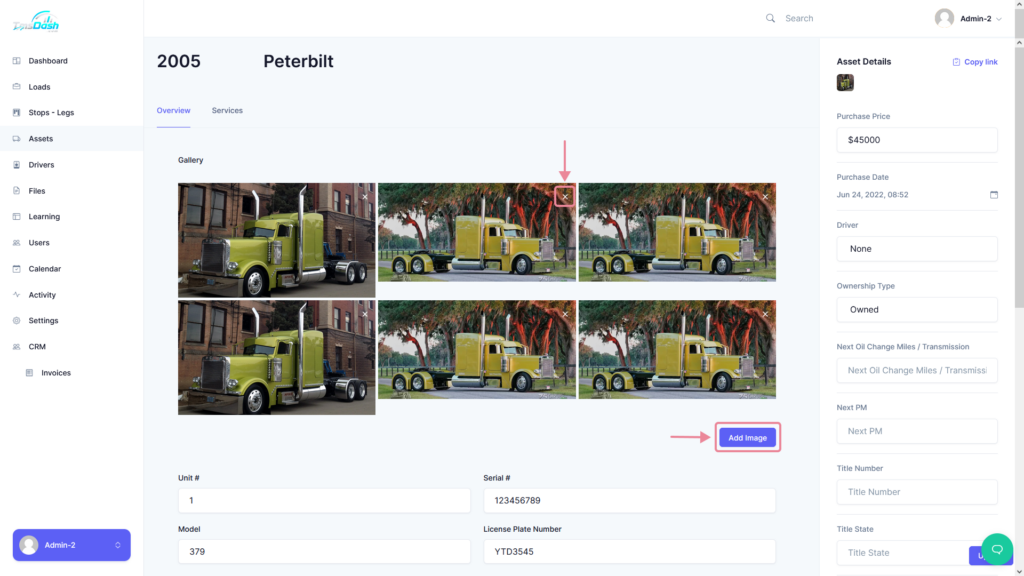
Asset Gallery #
You can add images or photos of your asset to the asset gallery by clicking on the “Add Image” button and then uploading or selecting a file from the popup.
You can also view the gallery by clicking on an image and using the left and right arrows to navigate through the images.
To delete an image from the gallery you can click on the cross icon on the top right of the image you want to delete.
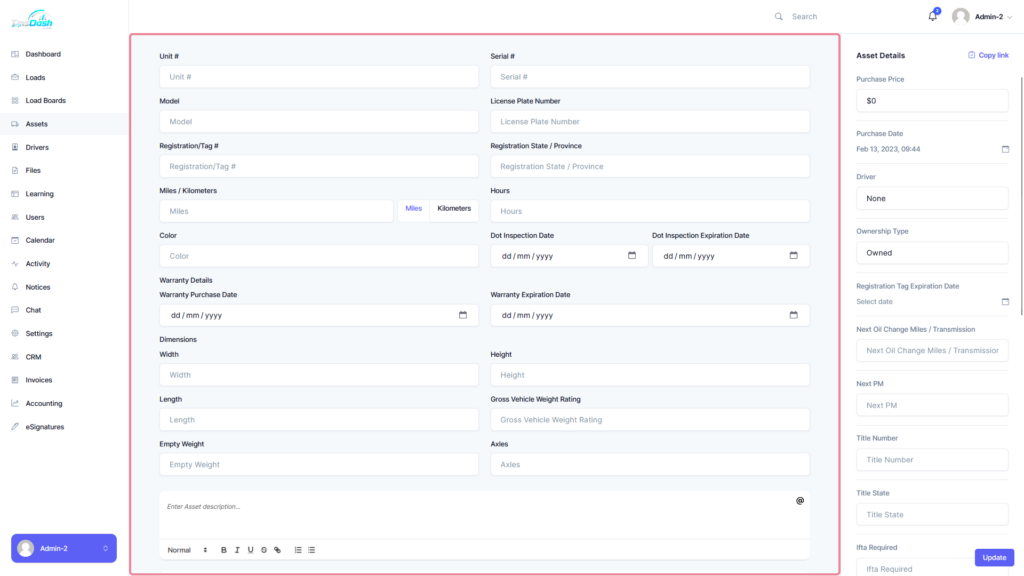
Asset Details #
Further down on the page you can enter the other asset details such as:
- Unit #
- Serial #
- Model
- License Plate #
- Registration / Tag #
- Registration State / Province
- Miles / Kilometers
- Hours
- Color
- Dot Inspection & Expiration Date
- Warranty Details (Purchase & Expiration Date)
- Dimensions (Width, Height, Length, Gross Vehicle Weight Rating, Empty Weight and Axles)
- Description
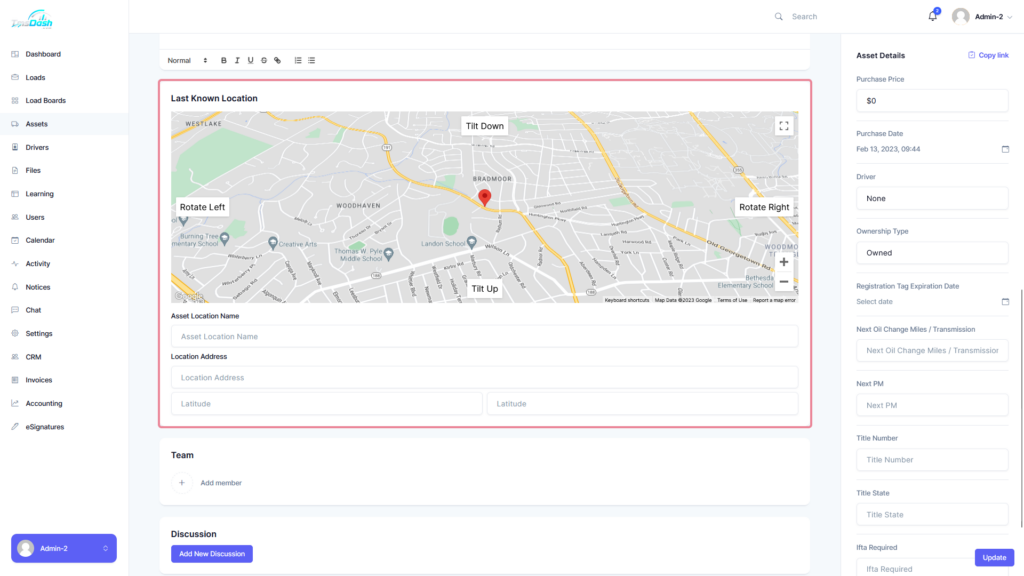
Last Known Location #
Dragging the red pin on the map allows you to set the location address for the last known location of the asset.
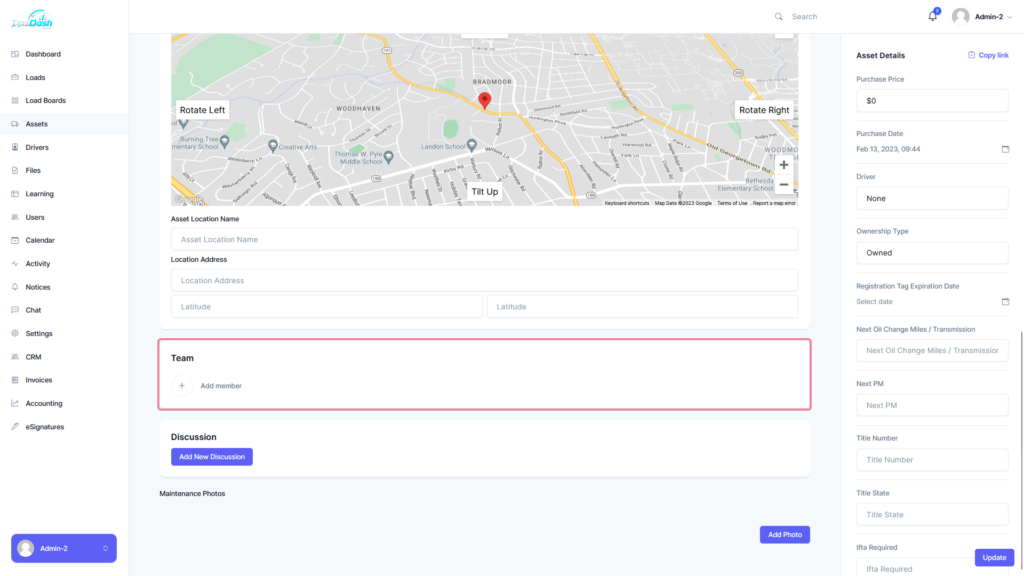
Team #
To add members to the load, you can click on the “Add member” button and select members to be added.
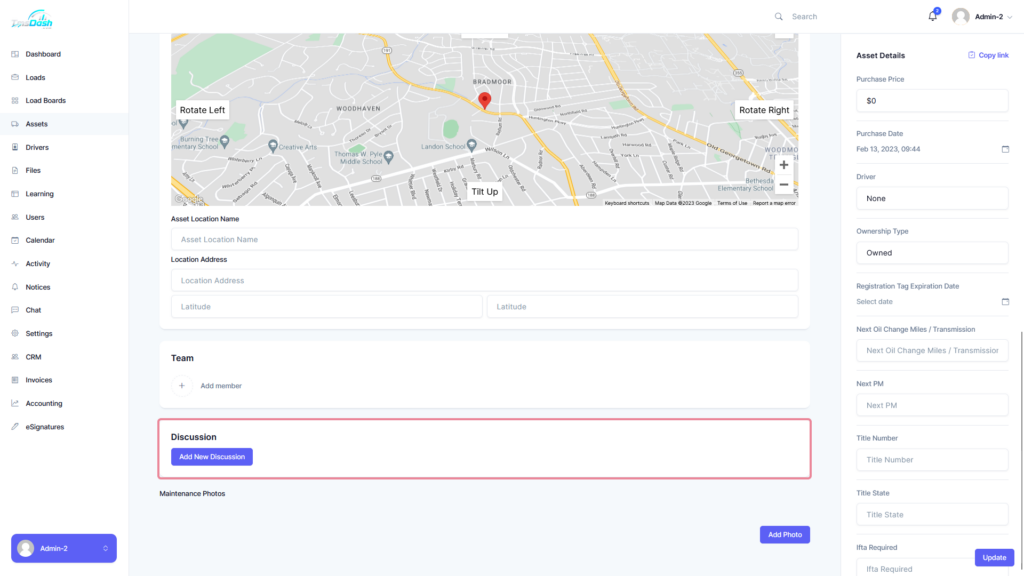
Discussion #
Adding a new discussion by clicking the “Add New Discussion” button allows you to send messages and have conversations about a asset. You can create multiple discussions, each with its own separate messages.
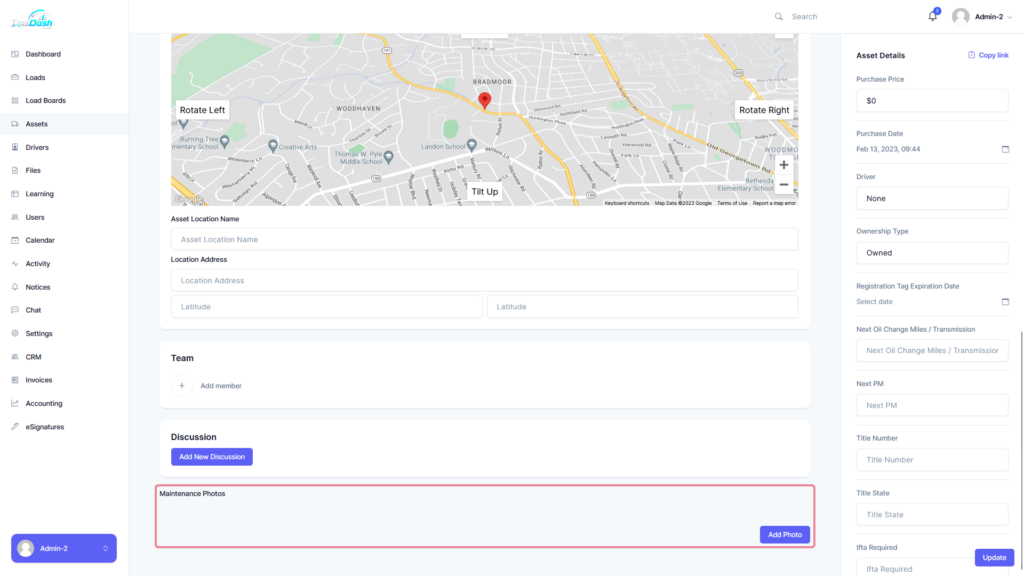
Maintenance Photos #
You can add maintenance photos by clicking on the “Add Photo” button and selecting your maintenance photos for your asset.
Asset Details #
On the right hand side you can edit the other asset details described below.
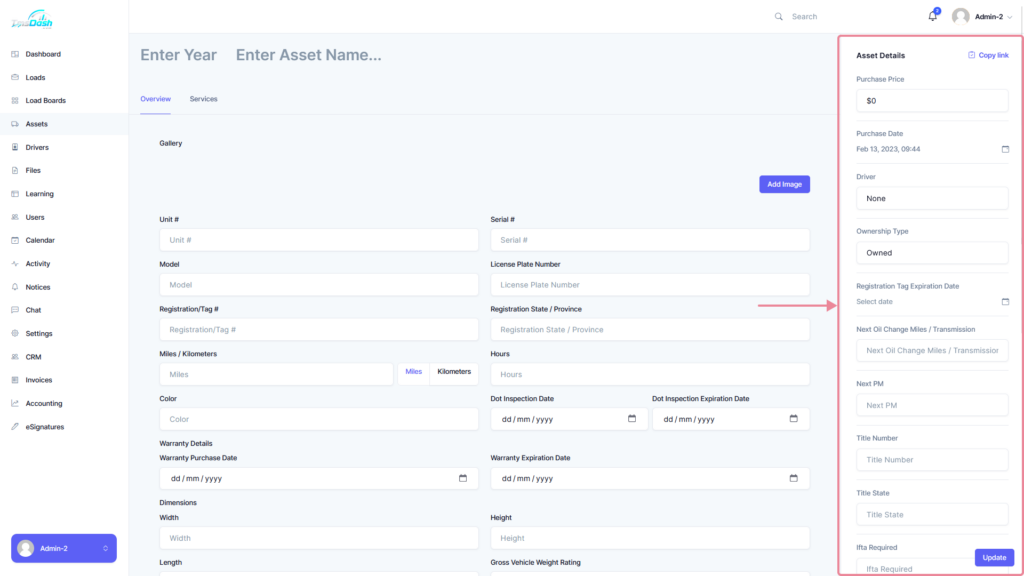
Purchase Price #
To set the required price for the asset click on the input field and type in your value.
Purchase Date #
You can enter the purchase date using the date picker option provided.
Driver #
You can select a driver by selecting one from the dropdown list.
If a driver is not in the dropdown list, you can add a driver in the Drivers page.
Click here for more information on drivers.
Ownership Type #
This allows you to select the type of ownership for the asset through the dropdown list, such as:
- Owned
- Leased
- Rented
- Customer
- Contractor
- Owner Operator
Next Oil Change Miles / Transmission #
You can add whenever the next oil change miles should be.
Next PM #
Whenever the next PM (Preventive Maintenance) is.
Title Number #
The number on the Title.
Title State #
The state where the Title was issued.
Ifta Required #
Whether or not a Ifta (International Fuel Tax Agreement) should be required for the asset or not.
Ifta Date #
The date the Ifta was issued.
Asset Type #
You can select the asset type by choosing an item from the dropdown list, or adding one if needed by typing a value in the “Add new item” field and clicking “Add Item”. You can also update or remove items.
Updating a Asset Type #
To update a asset type select the asset name, then click on ‘Remove Item’.
Removing a Asset Type #
To remove a asset type select the asset name, then click on ‘Remove Item’.
Electronics Added #
Select electronics with the dropdown list or add a new one in the input field below by pressing the “Add Item” button. You can also update and remove electronics.
Updating Electronics #
Select the electronic you want to update, type your new value in the input field below and click on “Update Item”.
Removing Electronics #
Select the electronic you want to remove and then click on “Remove Item”.
Quick Part Numbers #
Select a quick part number with the dropdown list or add a new one in the input field below by pressing the “Add Item” button. You can also update and remove quick part number.
Updating Quick Part Numbers #
Select the quick part number you want to update, type your new value in the input field below and click on “Update Item”.
Removing Quick Part Numbers #
Select the quick part number you want to remove and then click on “Remove Item”.
Status #
Click on the icon on the right side of the status option to edit the status of the asset.
The available statuses are:
- Active
- Inactive
- In Shop
- Out of Service
- Sold
Make sure to save / update your asset by clicking on the ‘Update’ button at the top of the page to save your changes.
Deleting an Asset #
To delete an asset head to your “Assets” Page and then locate the asset you want to delete. Go over to the right hand side of your asset and you should see a “trash” icon, click on the trash icon and that will delete your asset.


Responses