
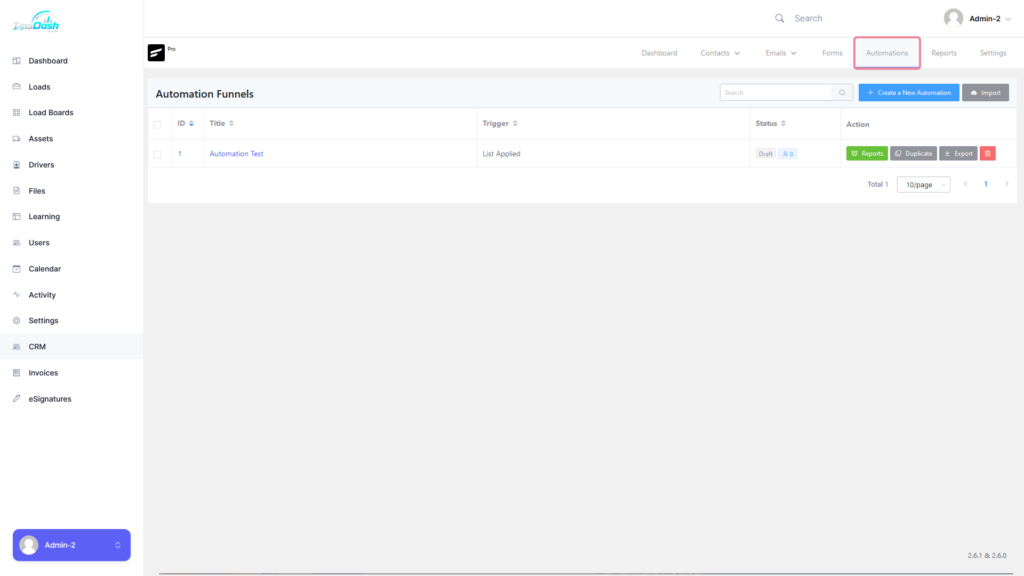
Automations allows you to automate tasks and run Email Campaigns, Email Sequences and Custom Emails.
Creating an Automation #
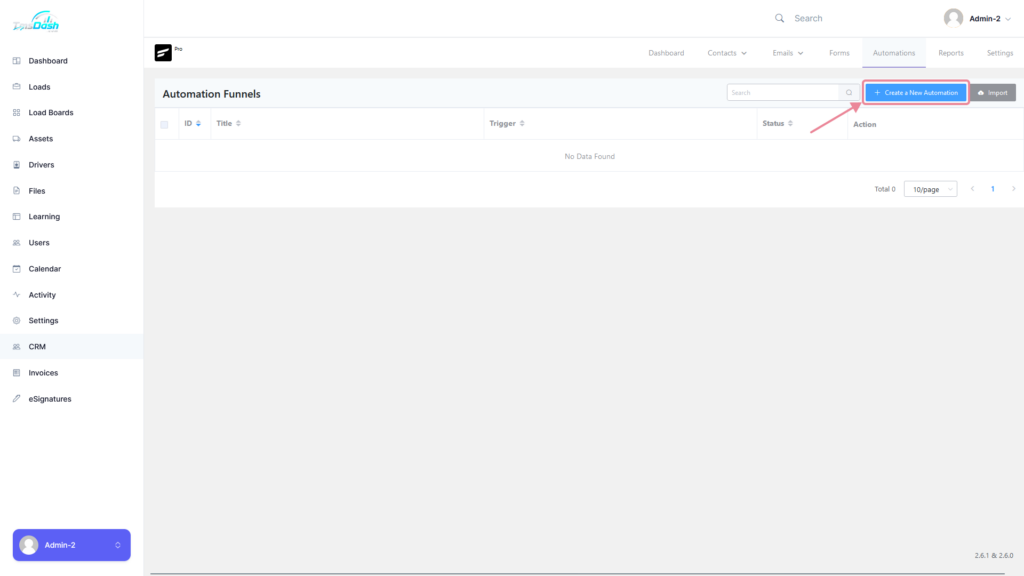
To create an automation, you can click on the “Create a New Automation” button.
A popup will be displayed where you can carefully select triggers for your automation.
There are a variety of triggers which include Primary Automation Triggers, Ecommerce Triggers, Membership Triggers and LMS Triggers.
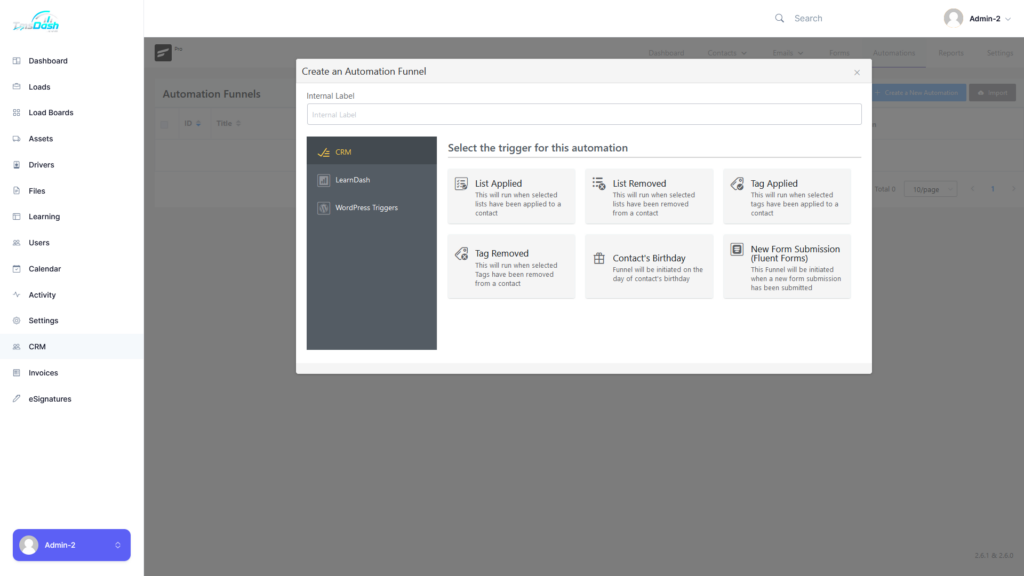
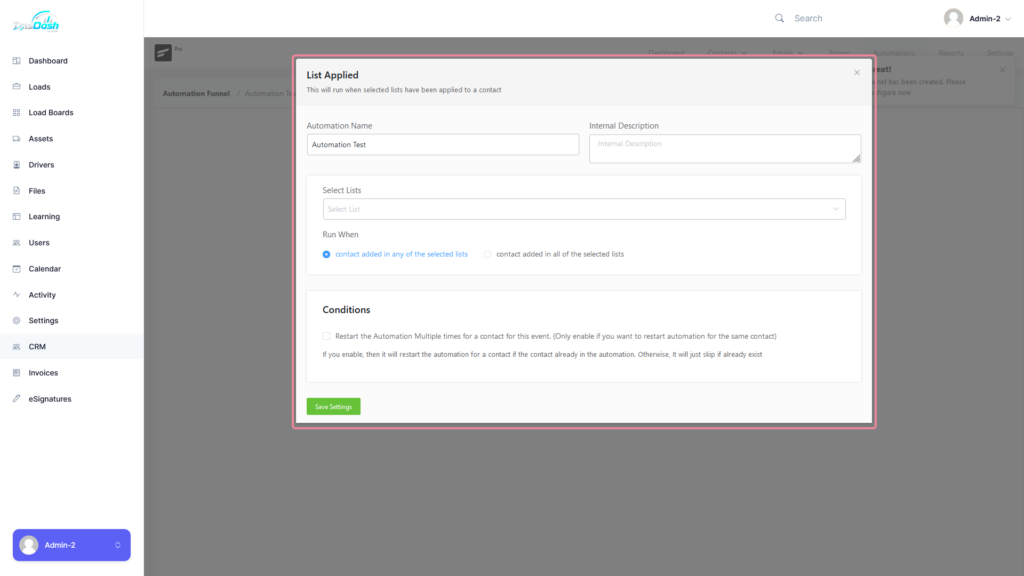
The following documentation will be continued with the List Applied trigger for demonstration purposes.
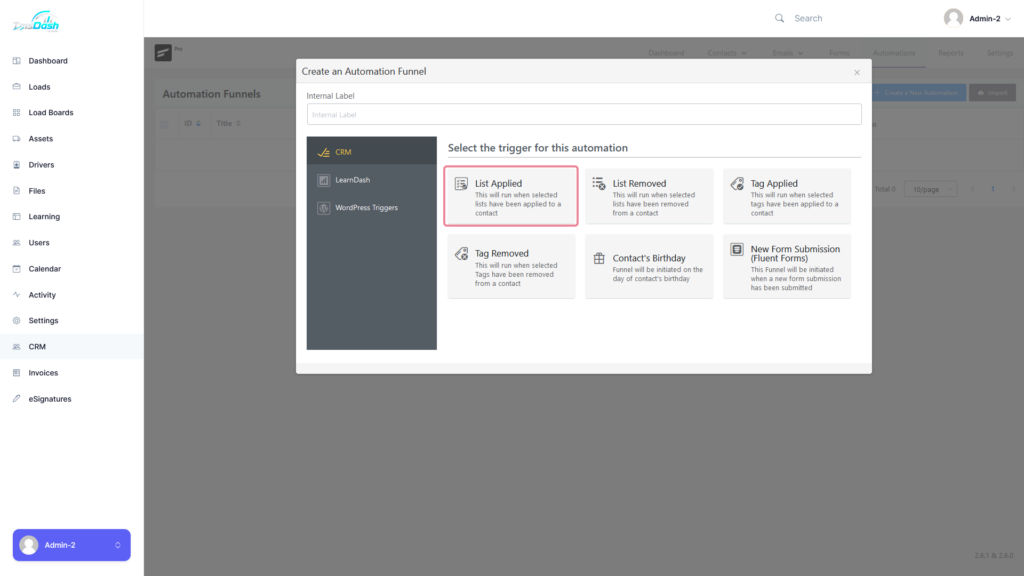
After selecting a trigger, a popup will be displayed (which differs depending on what trigger was chosen) where you can enter the required details.
In this case its the “List Applied” trigger.
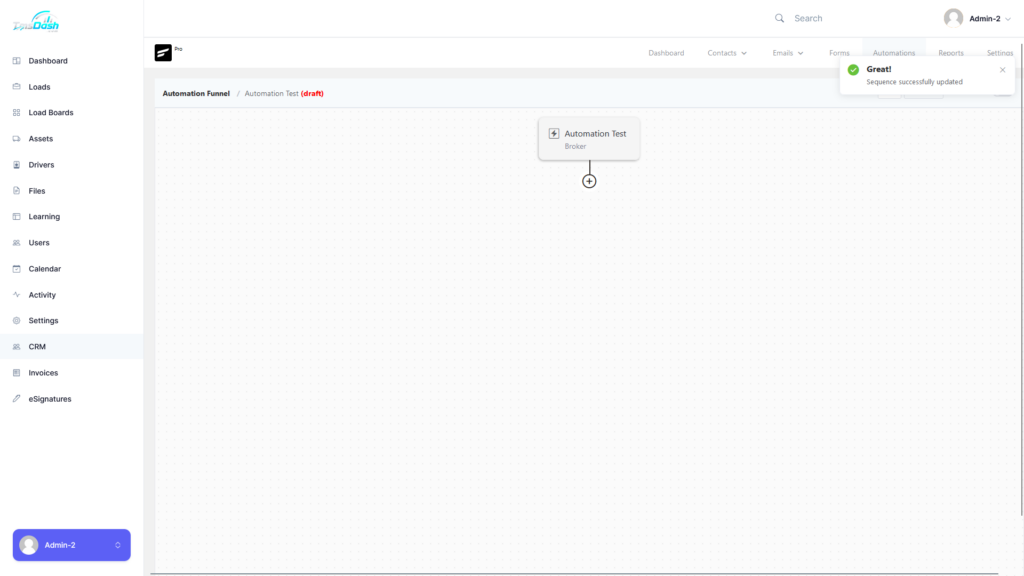
You will then be taken to the automation editor which will look something like this.
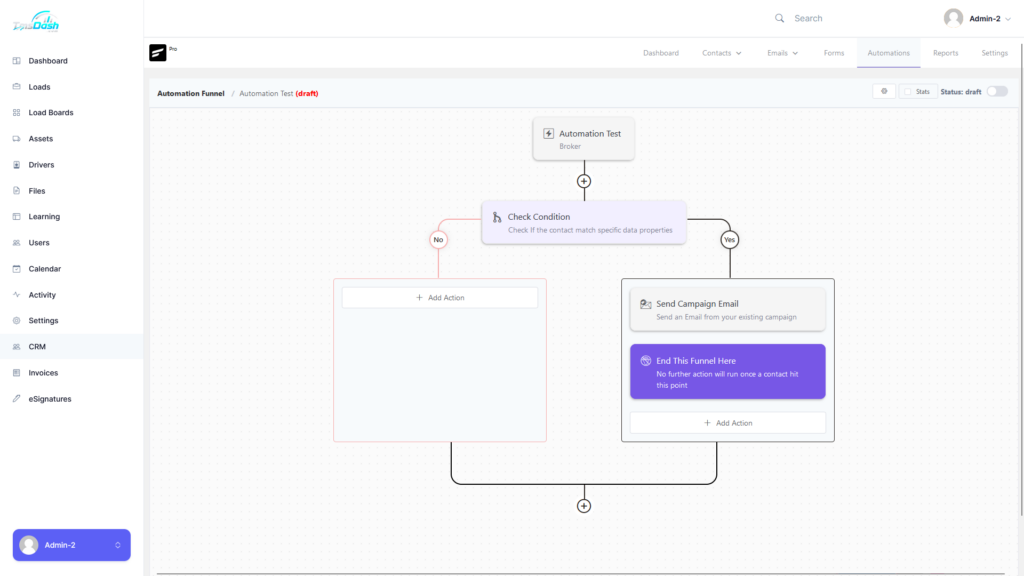
Adding Automation Actions #
You can now add an action by hovering over the (+) button. You will be given two options to choose from which will be displayed in the image below.

Quick Example:
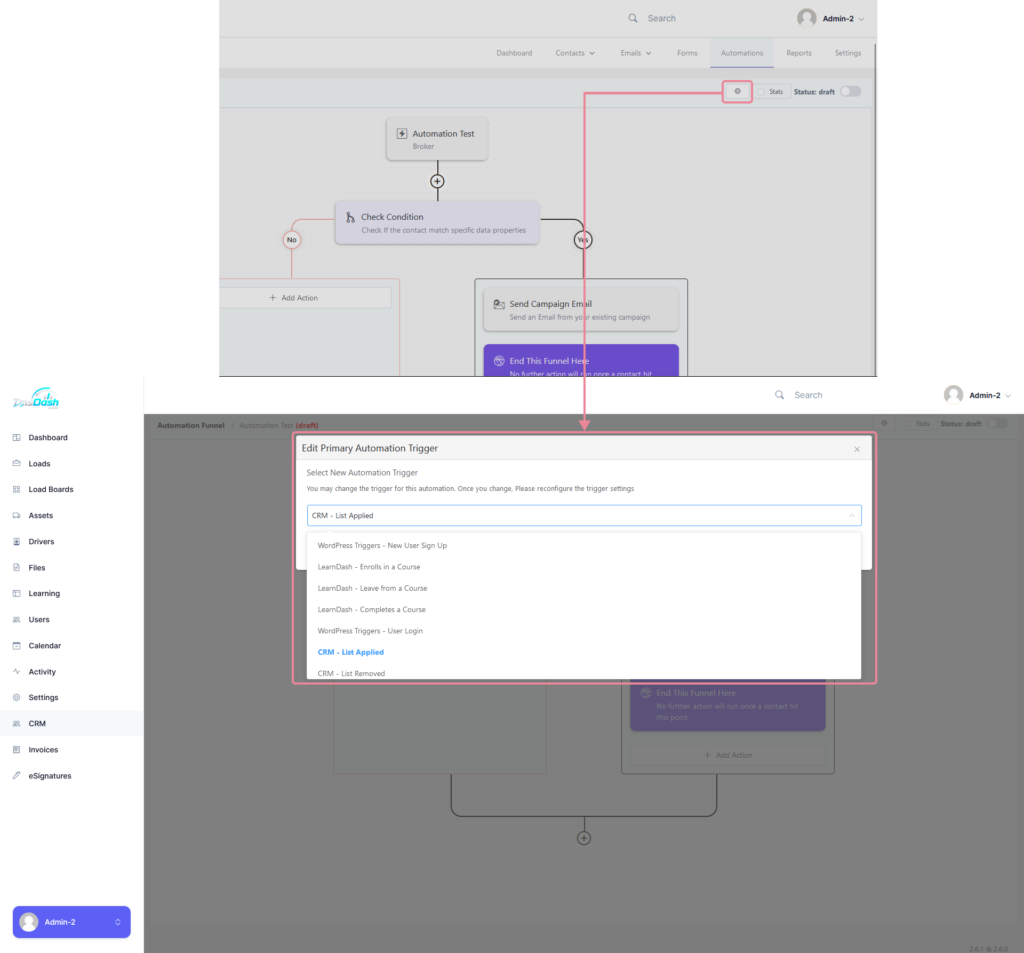
Changing the Primary Trigger #
If you wish to change the trigger and not recreate all of the actions, you can simply click on the “Gear” icon on the top right of the page.
You can then change the primary trigger as you wish.
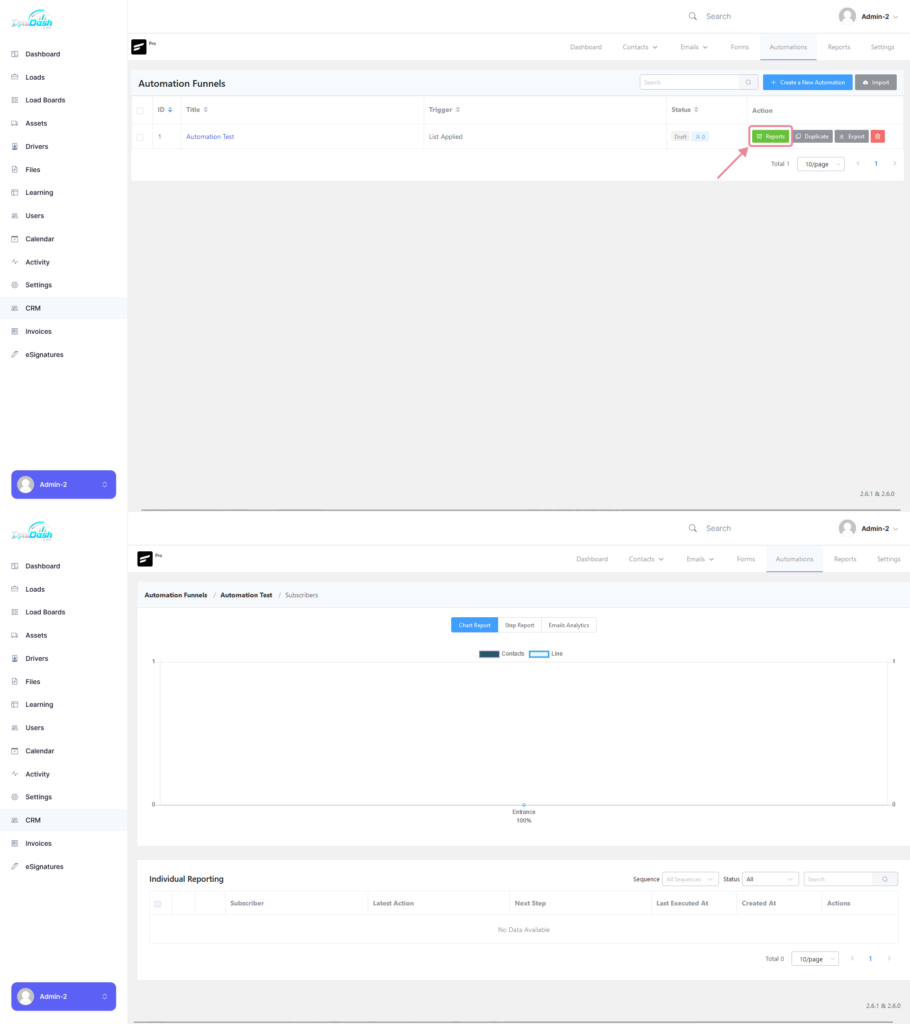
Automation Reports #
Automation reports can be found in the automation dashboard when you click on the “Reports” button on automation you wish to see the reports for.
Data gathered from the automation, including conversion rates and the overall performance of the automation, is displayed in the CRM automation report.


Responses